Tags
Tags are labels you create and assign to users, so you can group and segment your contacts.
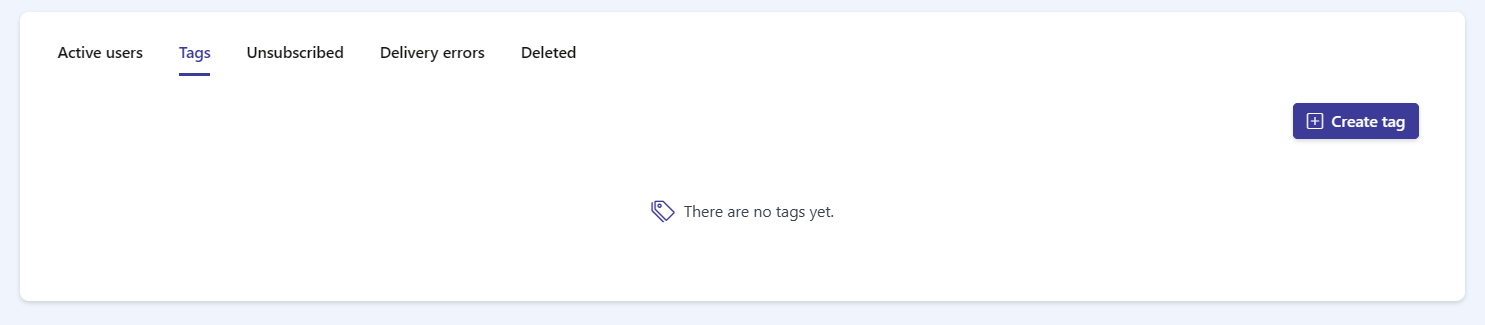
To open them, go to the Users section and select the Tags tab — the second tab, next to Active users.
Creating a tag
Section titled “Creating a tag”When your organization has no tags yet, the tab shows There are no tags yet. and a Create tag button in the top-right corner.
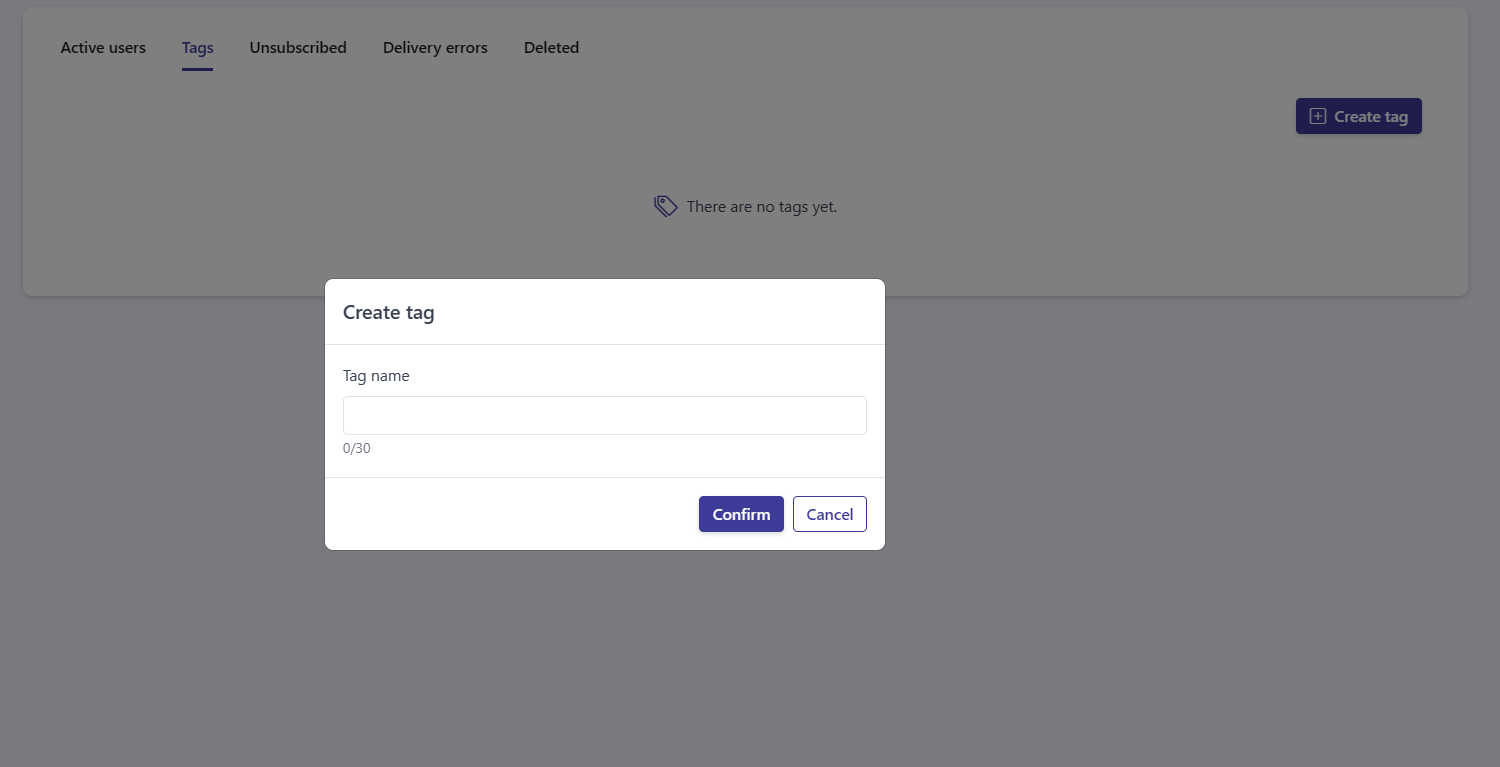
Click Create tag to open the Create tag window. It has a single Tag name field, limited to 30 characters (a 0/30 counter shows how many you have used). Enter a name and click Confirm to create the tag, or Cancel to discard it.
Tags list
Section titled “Tags list”Once you have created tags, they appear in a table with two columns:
- Name — the tag’s name.
- Members — the number of users assigned to that tag.
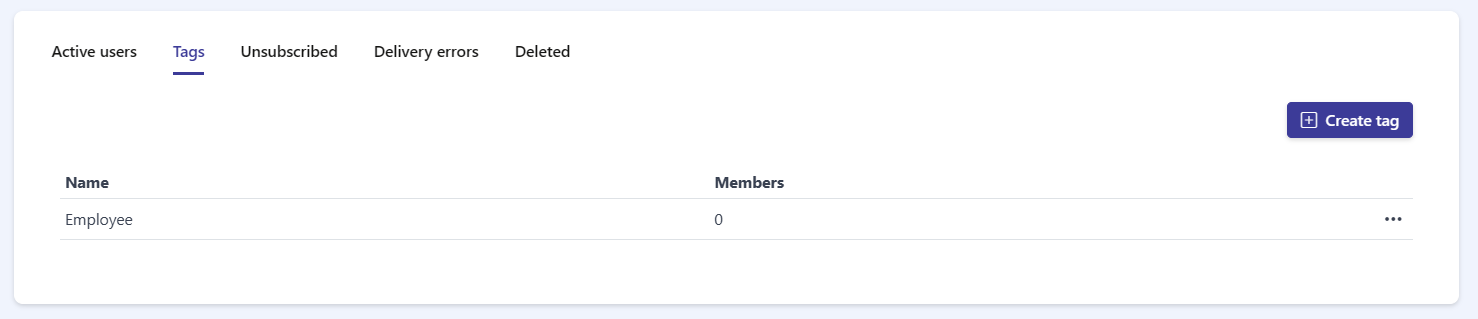
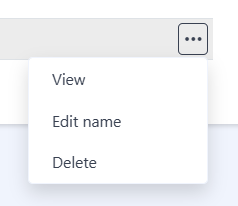
Each row has a ··· actions menu on the right with three options:
- View — open the tag’s detail view to manage its members.
- Edit name — rename the tag.
- Delete — remove the tag.
Managing a tag
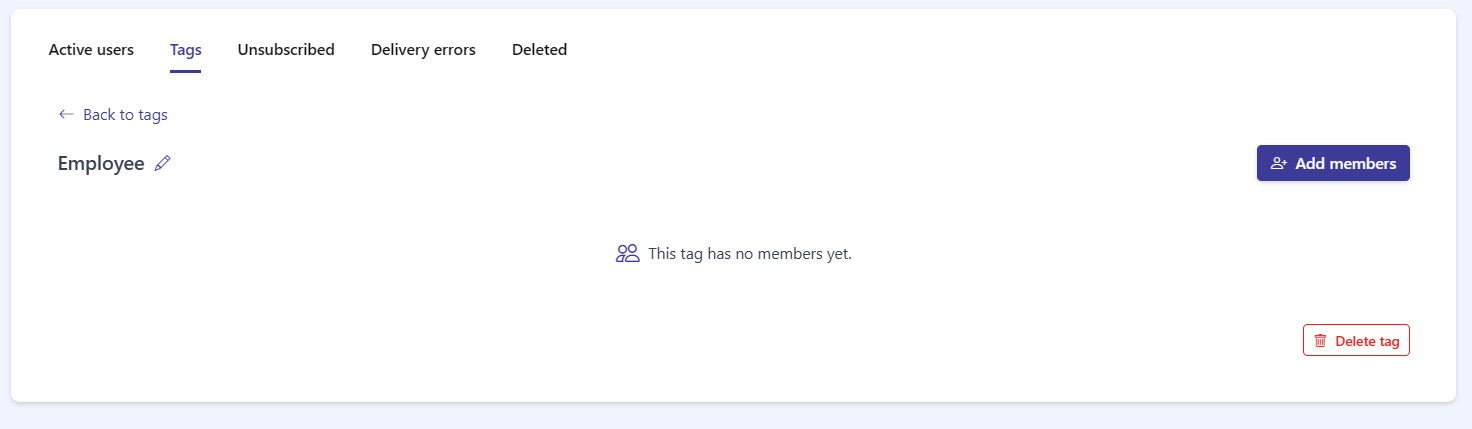
Section titled “Managing a tag”Click View on a tag to open its detail view. From here you can:
- Use the ← Back to tags link to return to the list.
- Rename the tag inline by clicking the pencil icon next to its name.
- Add users with the Add members button in the top-right corner.
- See the tag’s members, or the empty state This tag has no members yet.
- Remove the tag with the red Delete tag button.
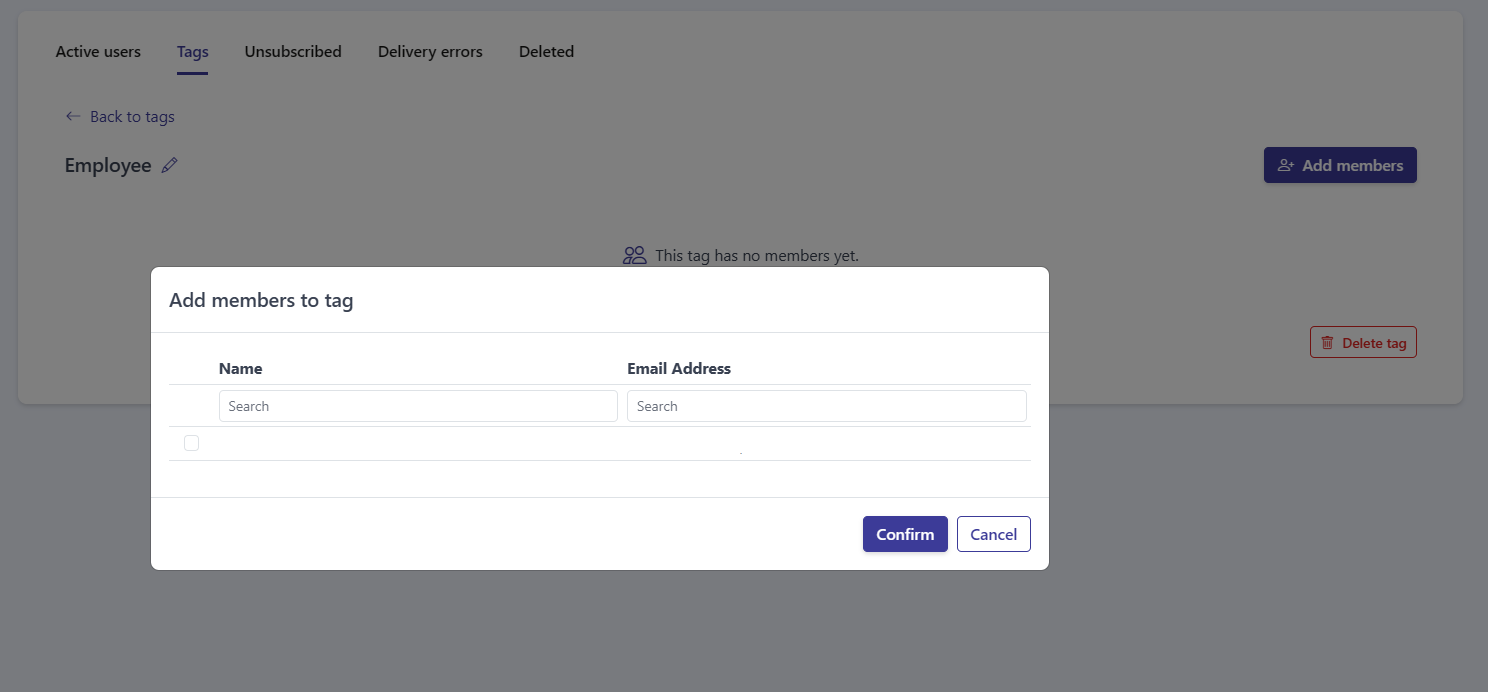
Adding members
Section titled “Adding members”Click Add members to open the Add members to tag window. It shows a table of users with Name and Email Address columns, each with its own Search box.
- Use the Search boxes to find the users you want.
- Tick the checkbox next to each user you want to add.
- Click Confirm to add the selected users to the tag, or Cancel to close without adding.
Deleting a tag
Section titled “Deleting a tag”You can delete a tag in two ways: choose Delete from the ··· menu in the tags list, or click Delete tag in the tag’s detail view.
Frequently asked questions
What are tags for?
Tags are labels you create and assign to users, so you can group and segment your contacts.
Is there a limit on the tag name?
Yes. A tag name can be up to 30 characters.
How do I add users to a tag?
Open the tag with View, click Add members, search and check the users you want, then click Confirm.
How do I rename a tag?
Open the tag and click the pencil icon next to its name, or choose Edit name from the ··· menu in the tags list.